Creating An Account
Creating a Padloc account is simple and takes only a few moments. To get started, you can either open the Padloc web app by going to web.padloc.app or by downloading and installing the app. The first thing you'll see is the start screen.
Step 1: Enter and confirm your email address
First, you'll be asked for an email address.
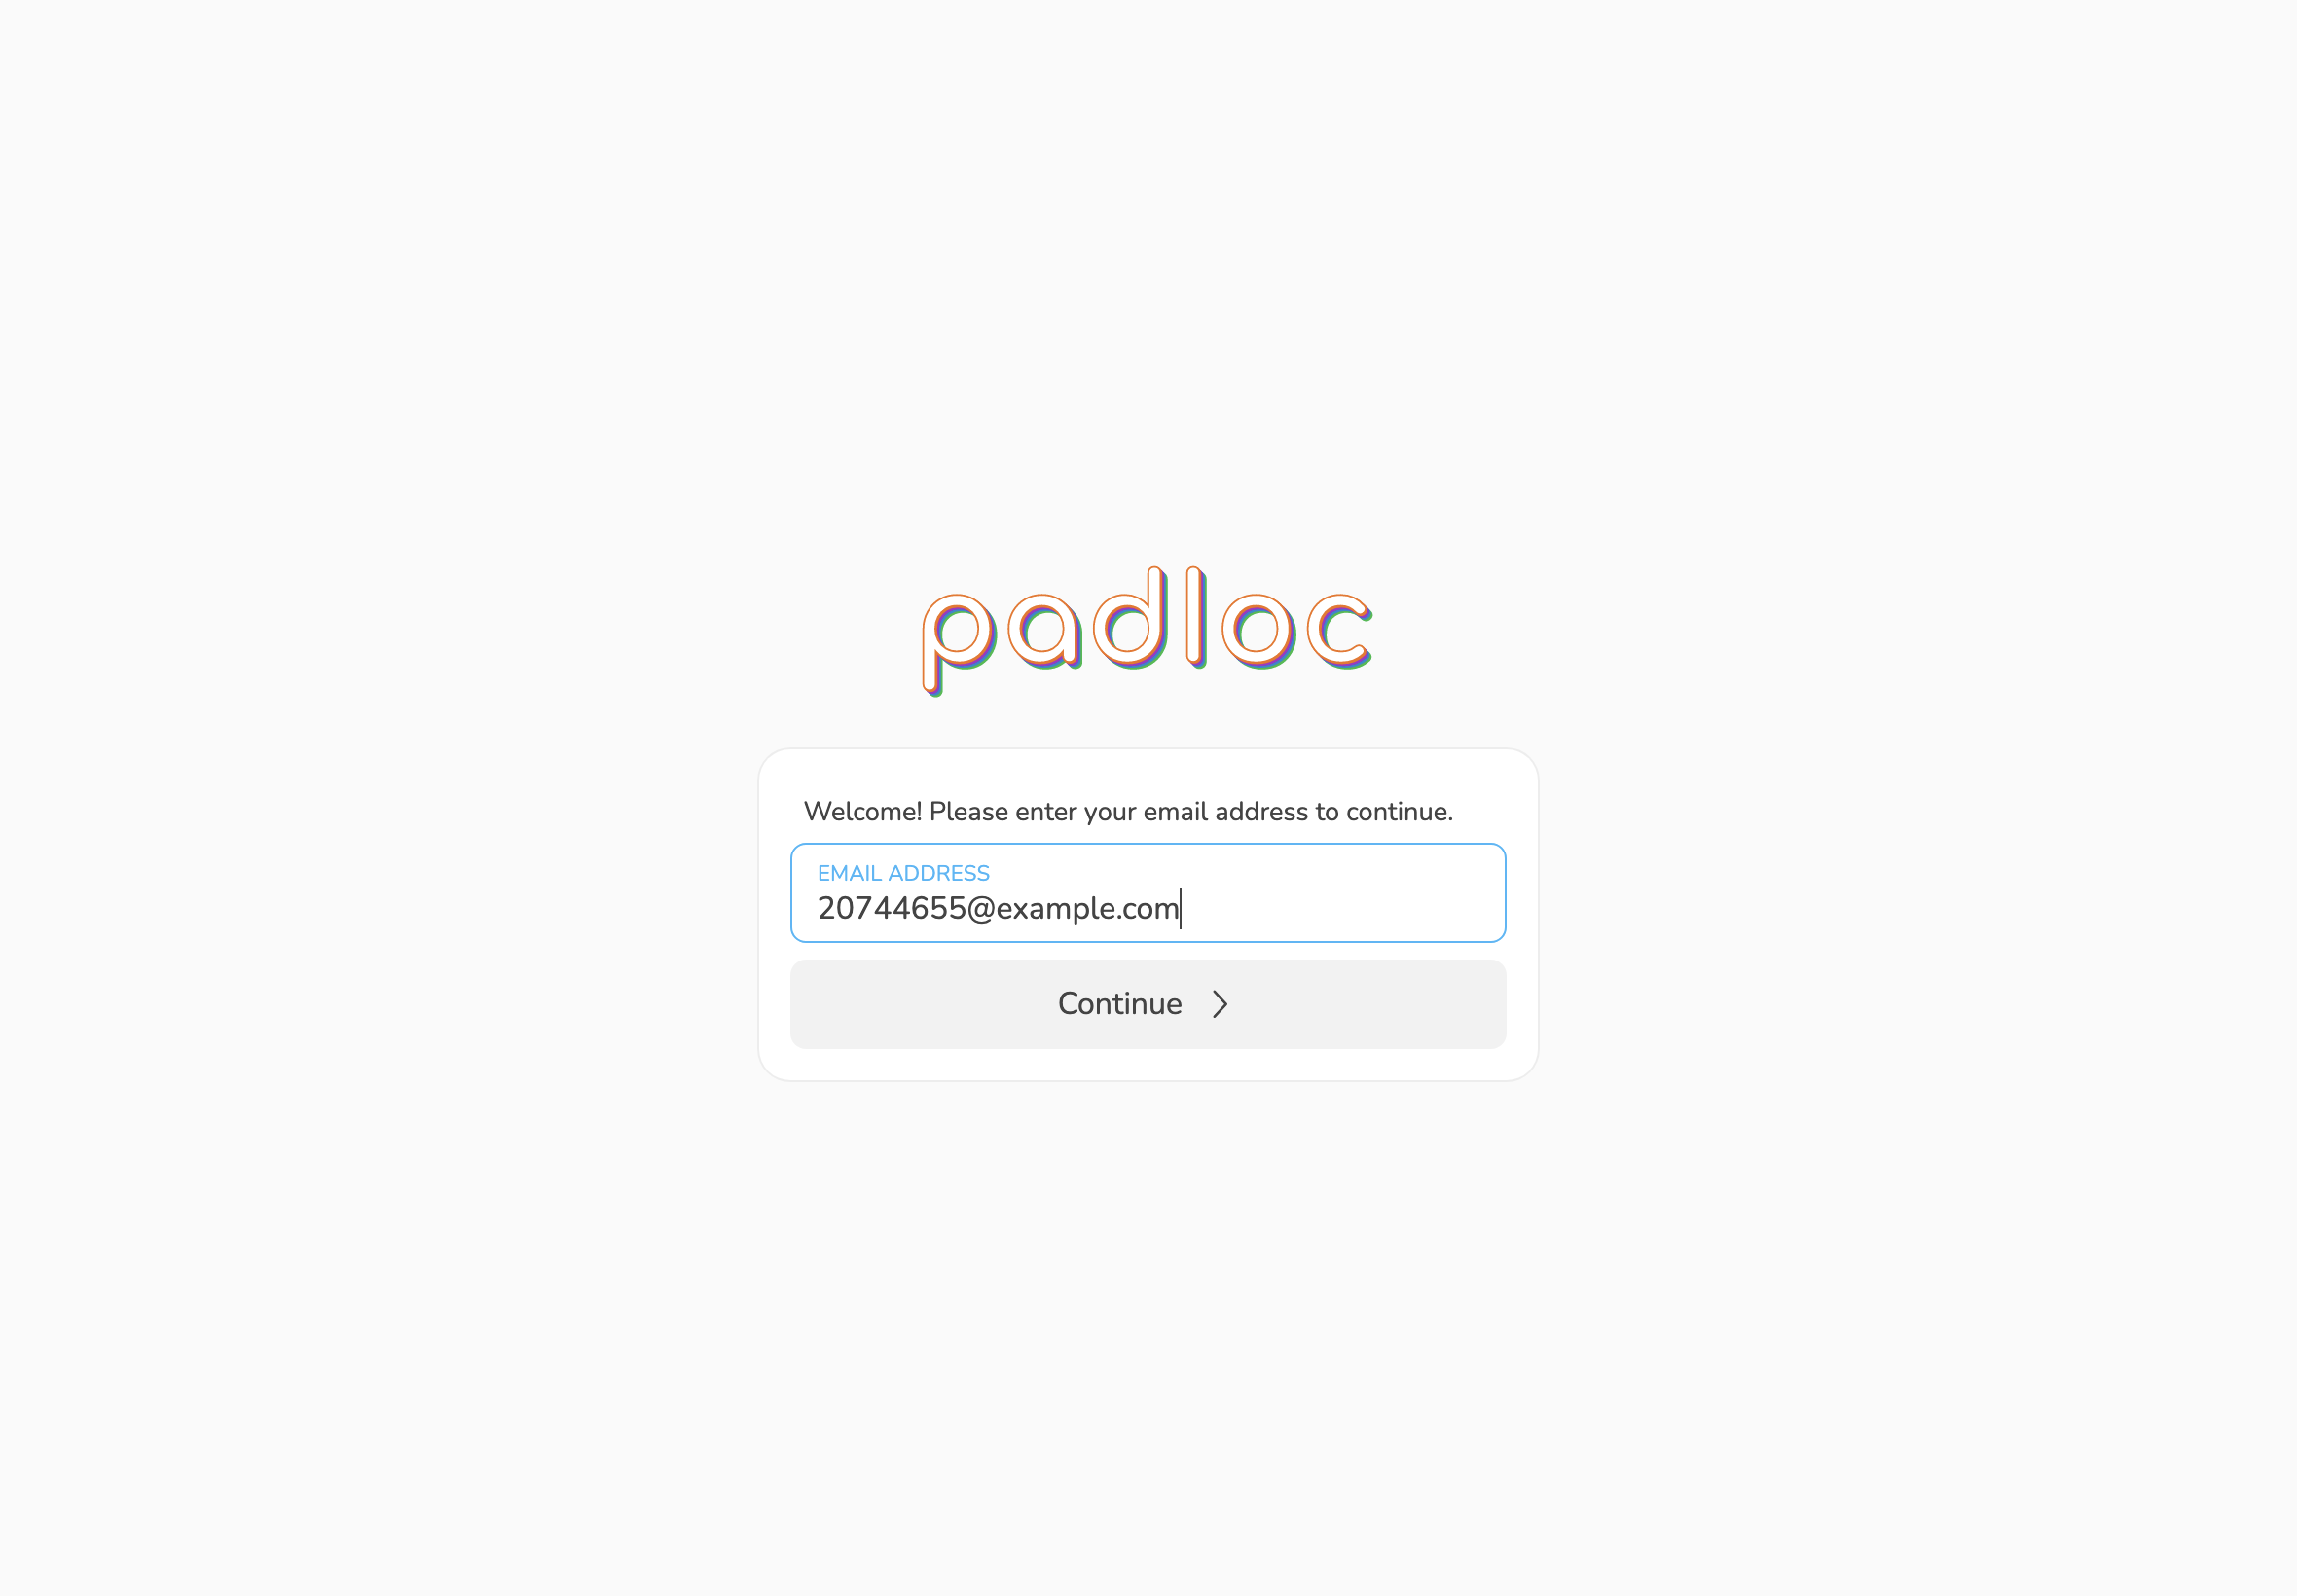
Your email address is used as a username for logging into your account, as well as as the standard delivery method for 2-factor authentication. We'll also use this address to send you important updates about your account, organizations you are a member of and various other things. For more information about how we handle your email and other personal information, please refer to our privacy policy.
Click to proceed.
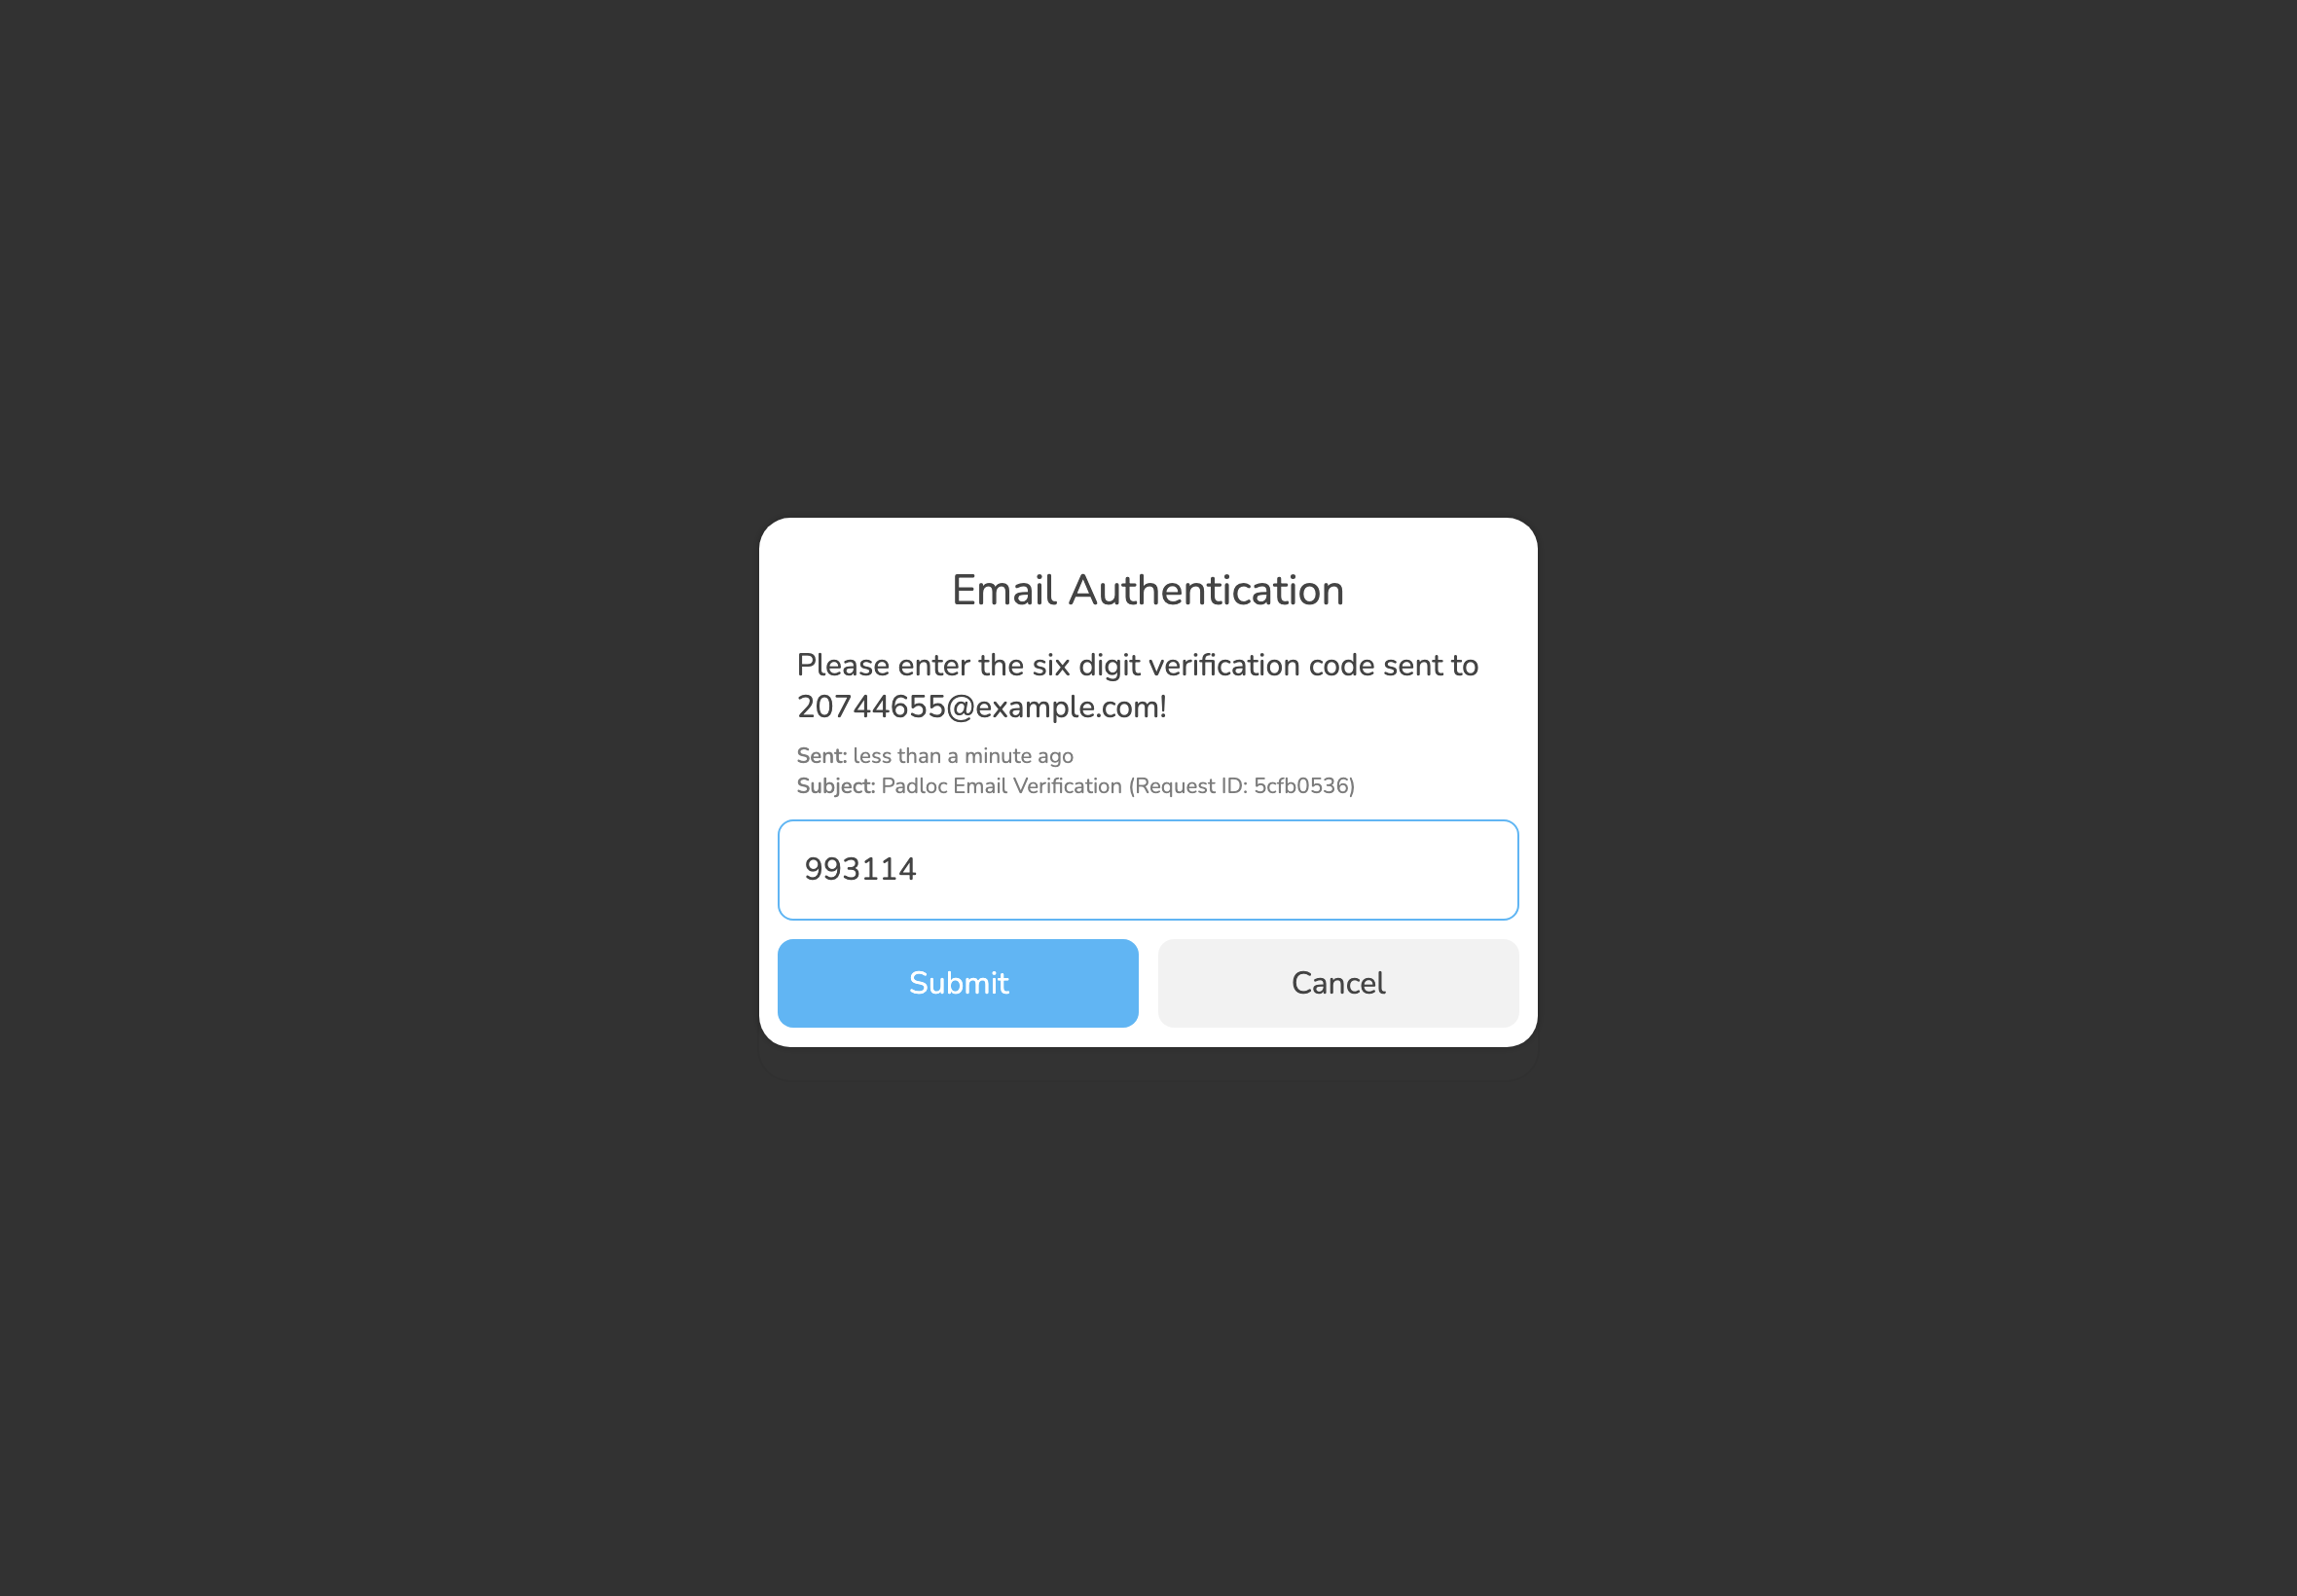
Confirm your email address
As mentioned before, your email address will be used for things like two-factor authentication and will generally identify your account within Padloc, so we first need to make sure you actually own it. To do this, we will send you an email with 6-digit confirmation code. To proceed, simply enter this code in the provided field and click .
Note that email may take a few minutes before it shows up in your mailbox. You may also want to check your spam folder!
Step 2: Accept Terms of Service
Tick the checkbox labeled I have read and agree to the Terms of Service.
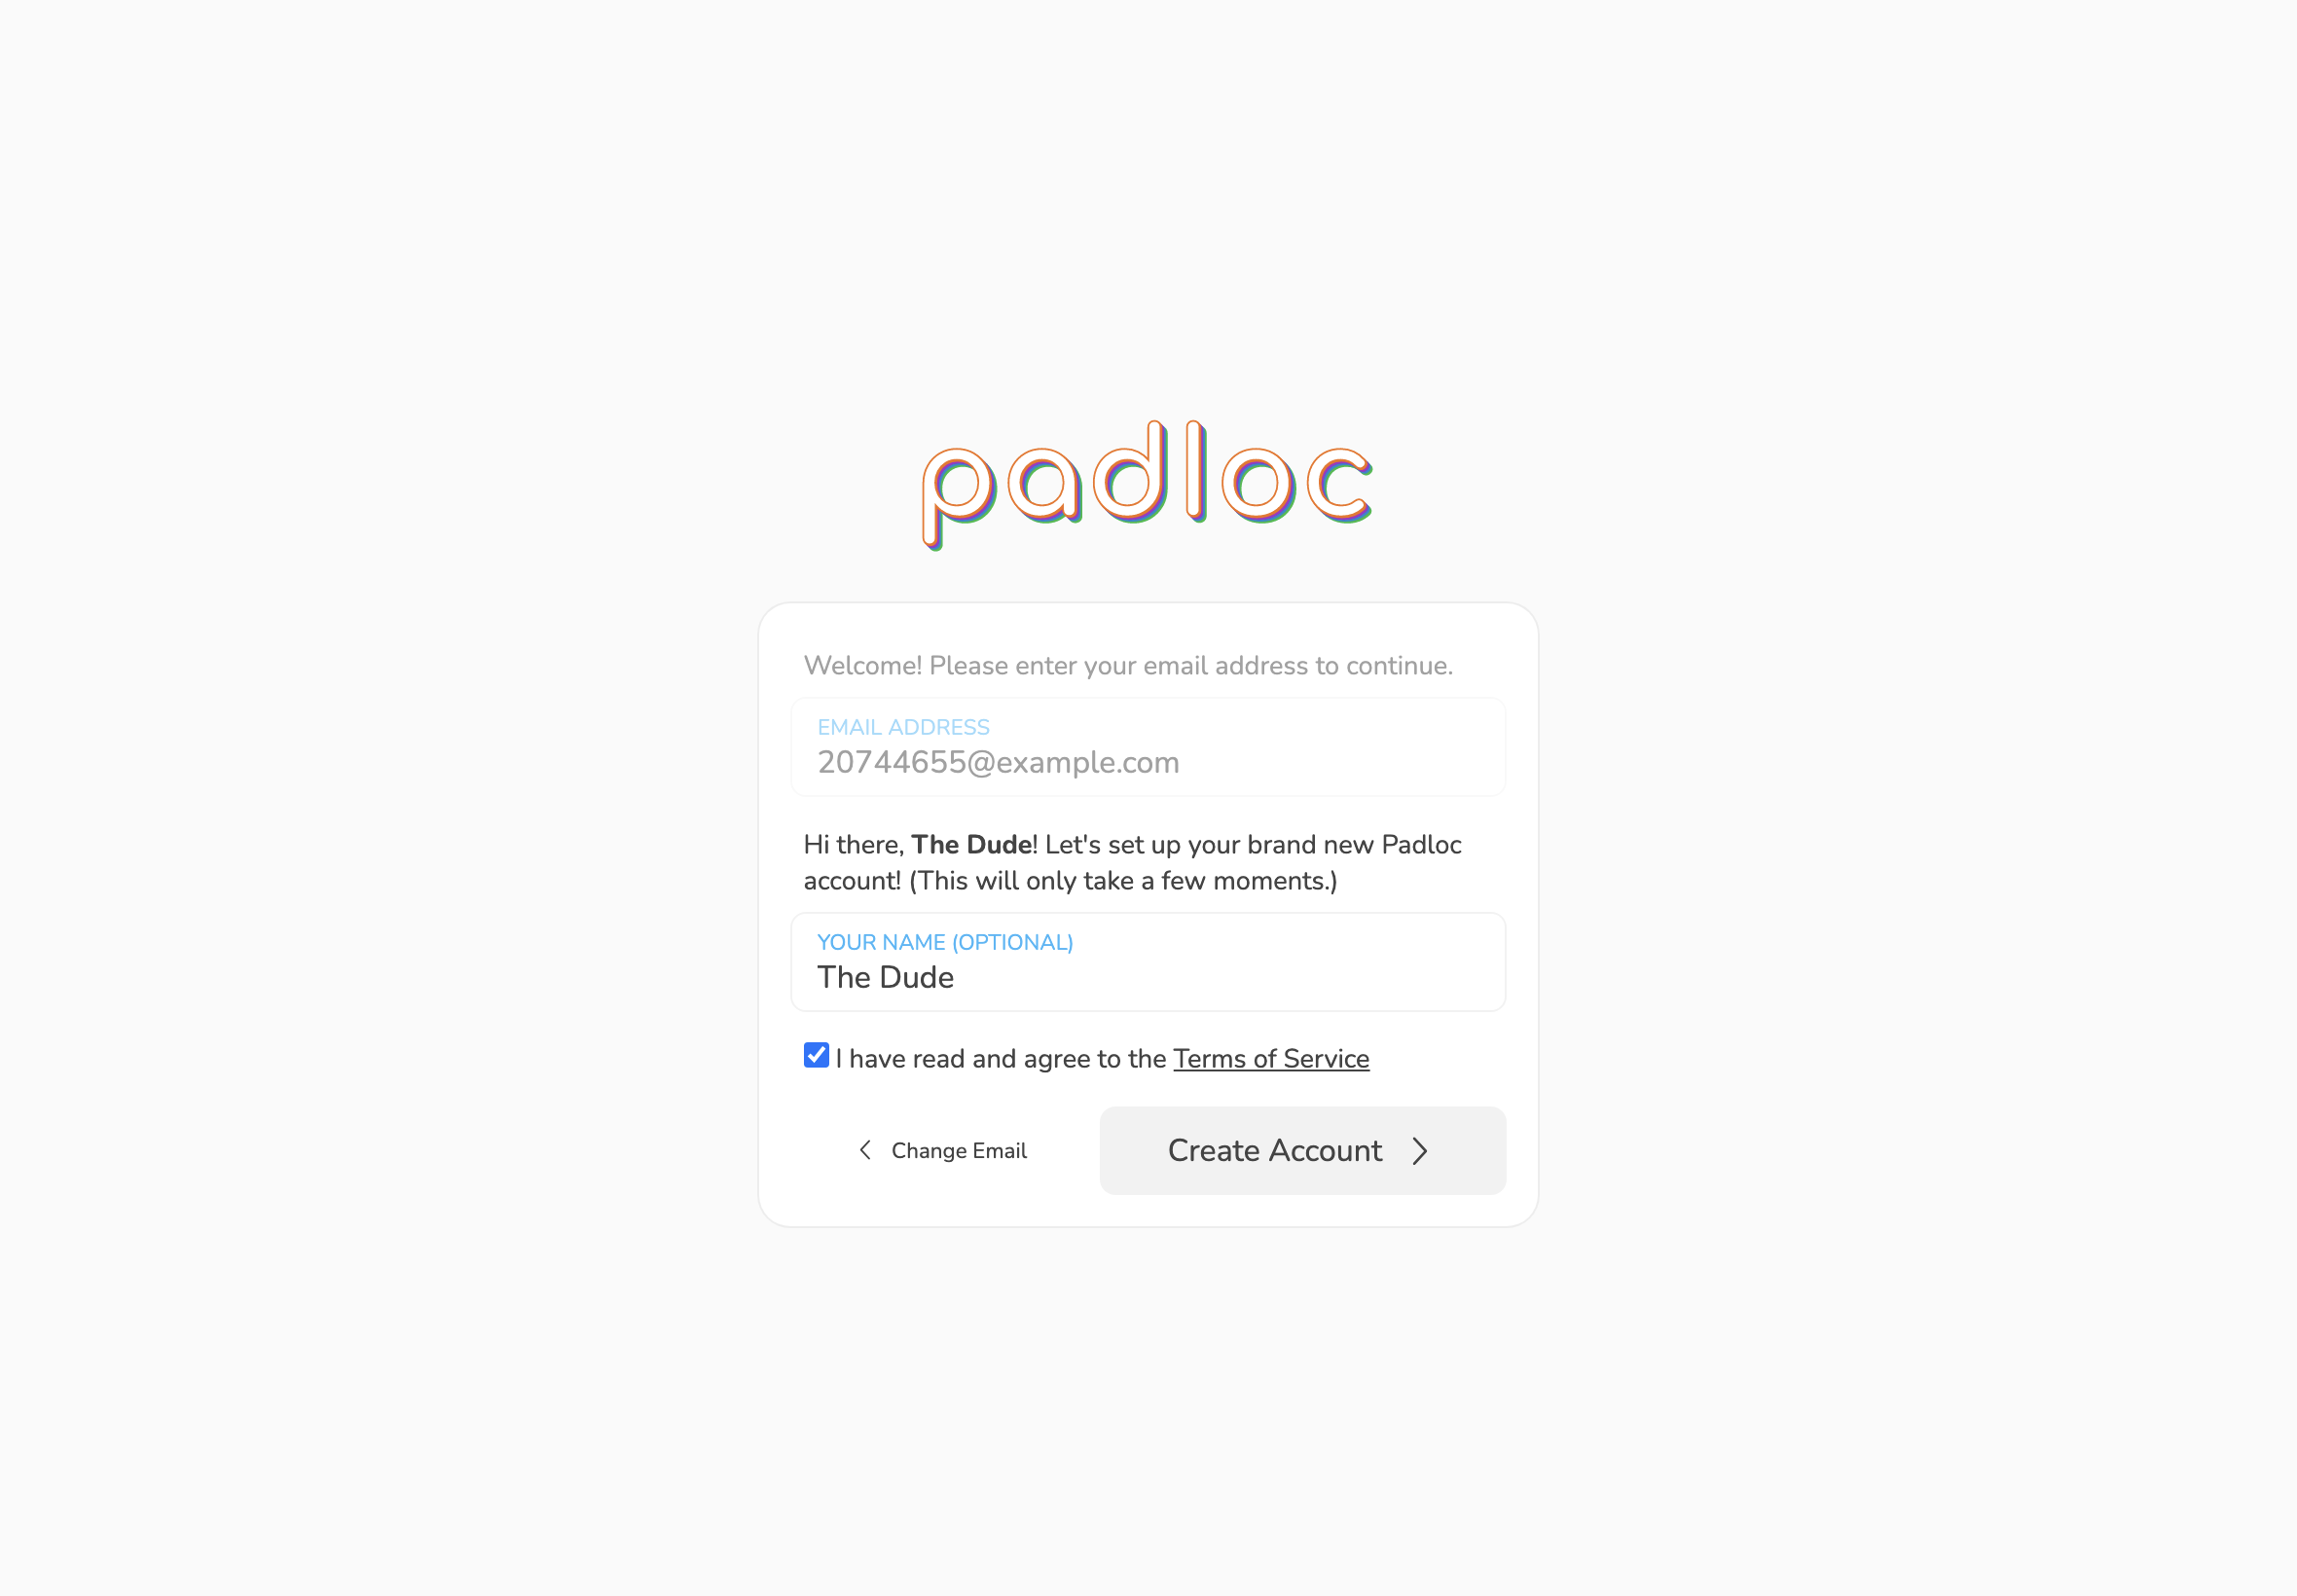
At this point you may also enter a display name that will tell us how you'd like to be referred to. This is especially useful in case you join any organizations (like your shared Family account or Company) as it will make it easier for others to identify you. This doesn't have to be your full or even your real name and can be changed at any time later on. It is also completely optional so you can just leave this empty for now if you want.
Once you've accepted the Terms of Service and (optionally) entered your display name, click to continue.
Step 3: Choose your master password
This is the most important step of the signup process (don't worry, it is also the last) so you should pay close attention to what is happening here. Your master password is used to protect your account and all the information stored within it and although we use always use strong encryption to protect your data this protection is only as strong as the master password you choose. At the same time, we will never store a copy of your password anywhere and will not be able to help you recover it in case you forget it, so you want to make sure to use something that is both hard to guess and easy to remember.
Option 1: Let us generate a master password for you
We know coming up with a secure, easy to remember password is not an easy task, so we will assist you by suggesting a strong password for you to use. This is a secure passphrase that is randomly generated from a list of the most common words in the English language (or whichever language you have set in your system preferences, as long as it is supported) using a variation of the diceware method. This passphrase may not look particularly secure, but we assure you it is likely much better than anything you would come up by yourself (no offense) and it certainly is a lot easier to remember than a string of random characters!
Don't like your suggested password? No problem! You can shuffle through more random phrases by clicking until you find one you like (the generator has been known to spit out some hilarious combinations from time to time 😋).
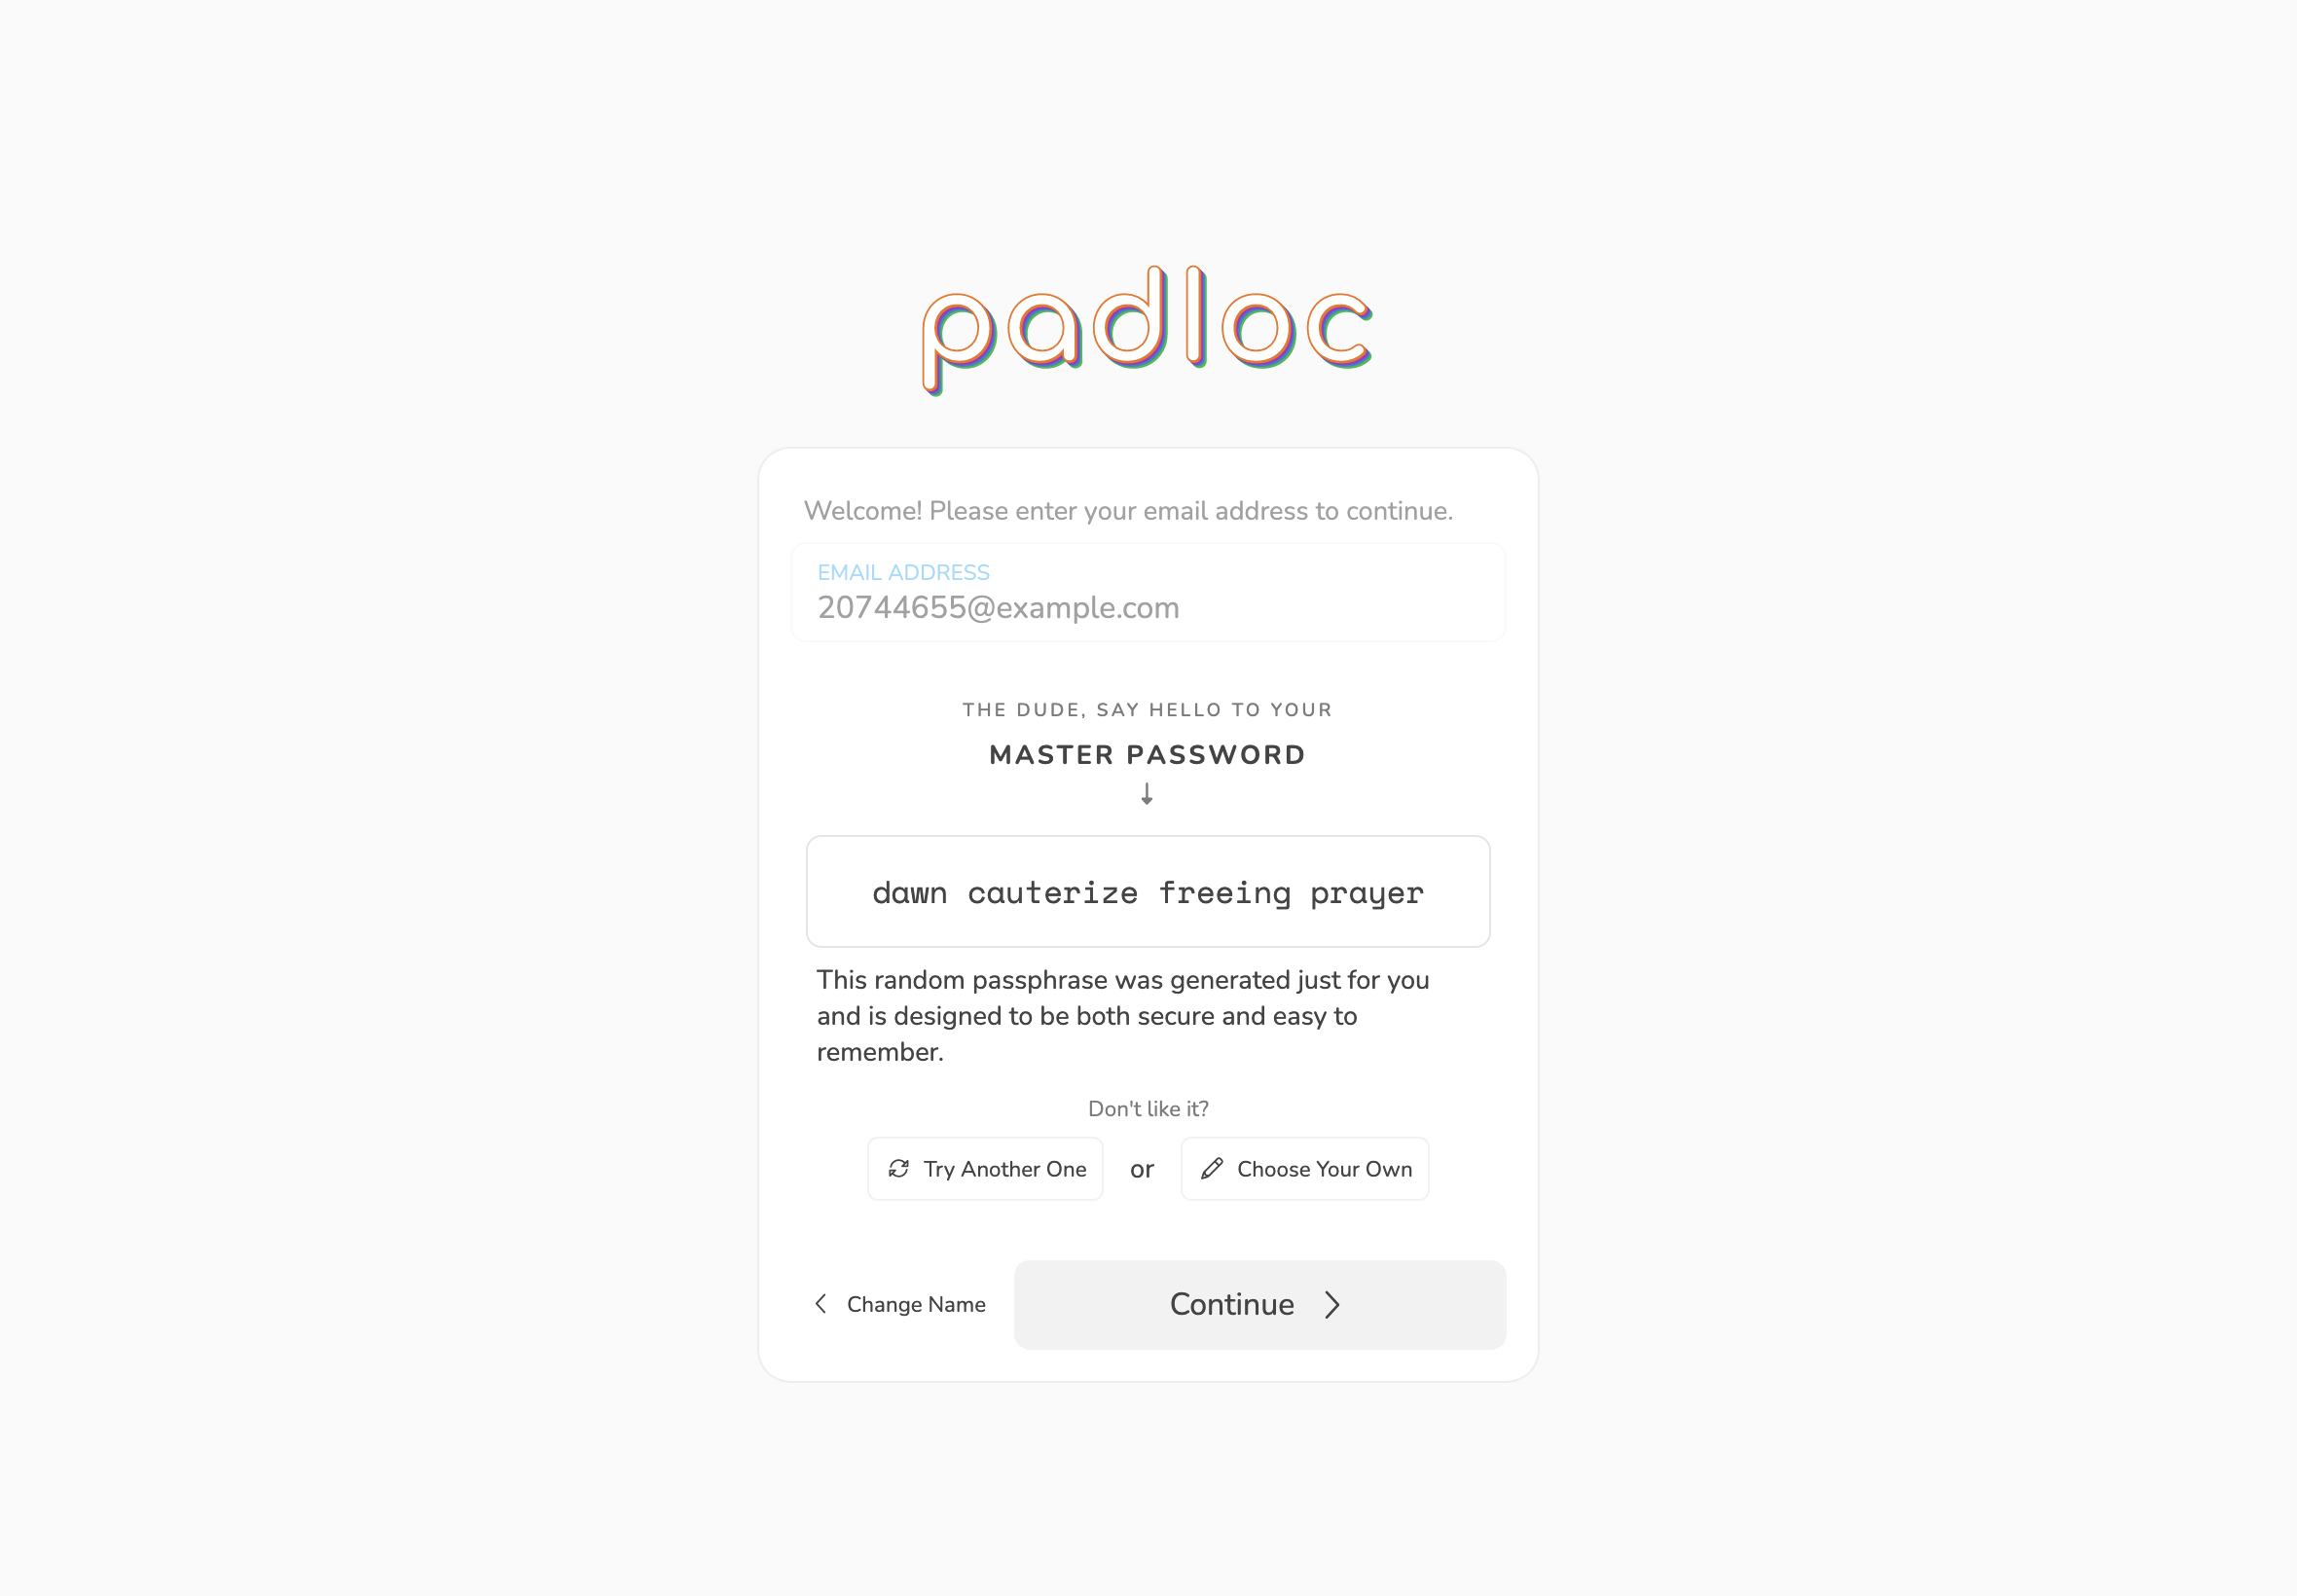
Option 2: Choose your own master password
If none of the suggested passwords work for you, you can choose a more hands-on approach by selecting clicking . This will present you with the option to pick a password entirely by yourself or you can bring up a password generator that will give you much more control over how the password is generated. You can even choose a different language or increase the number of words used (4 words should be good enough for most people but if you want to be safe, choosing 5, 6 or 7 words will make your password even more secure).
Once you've chosen and memorized your master password, click to proceed to the next step.
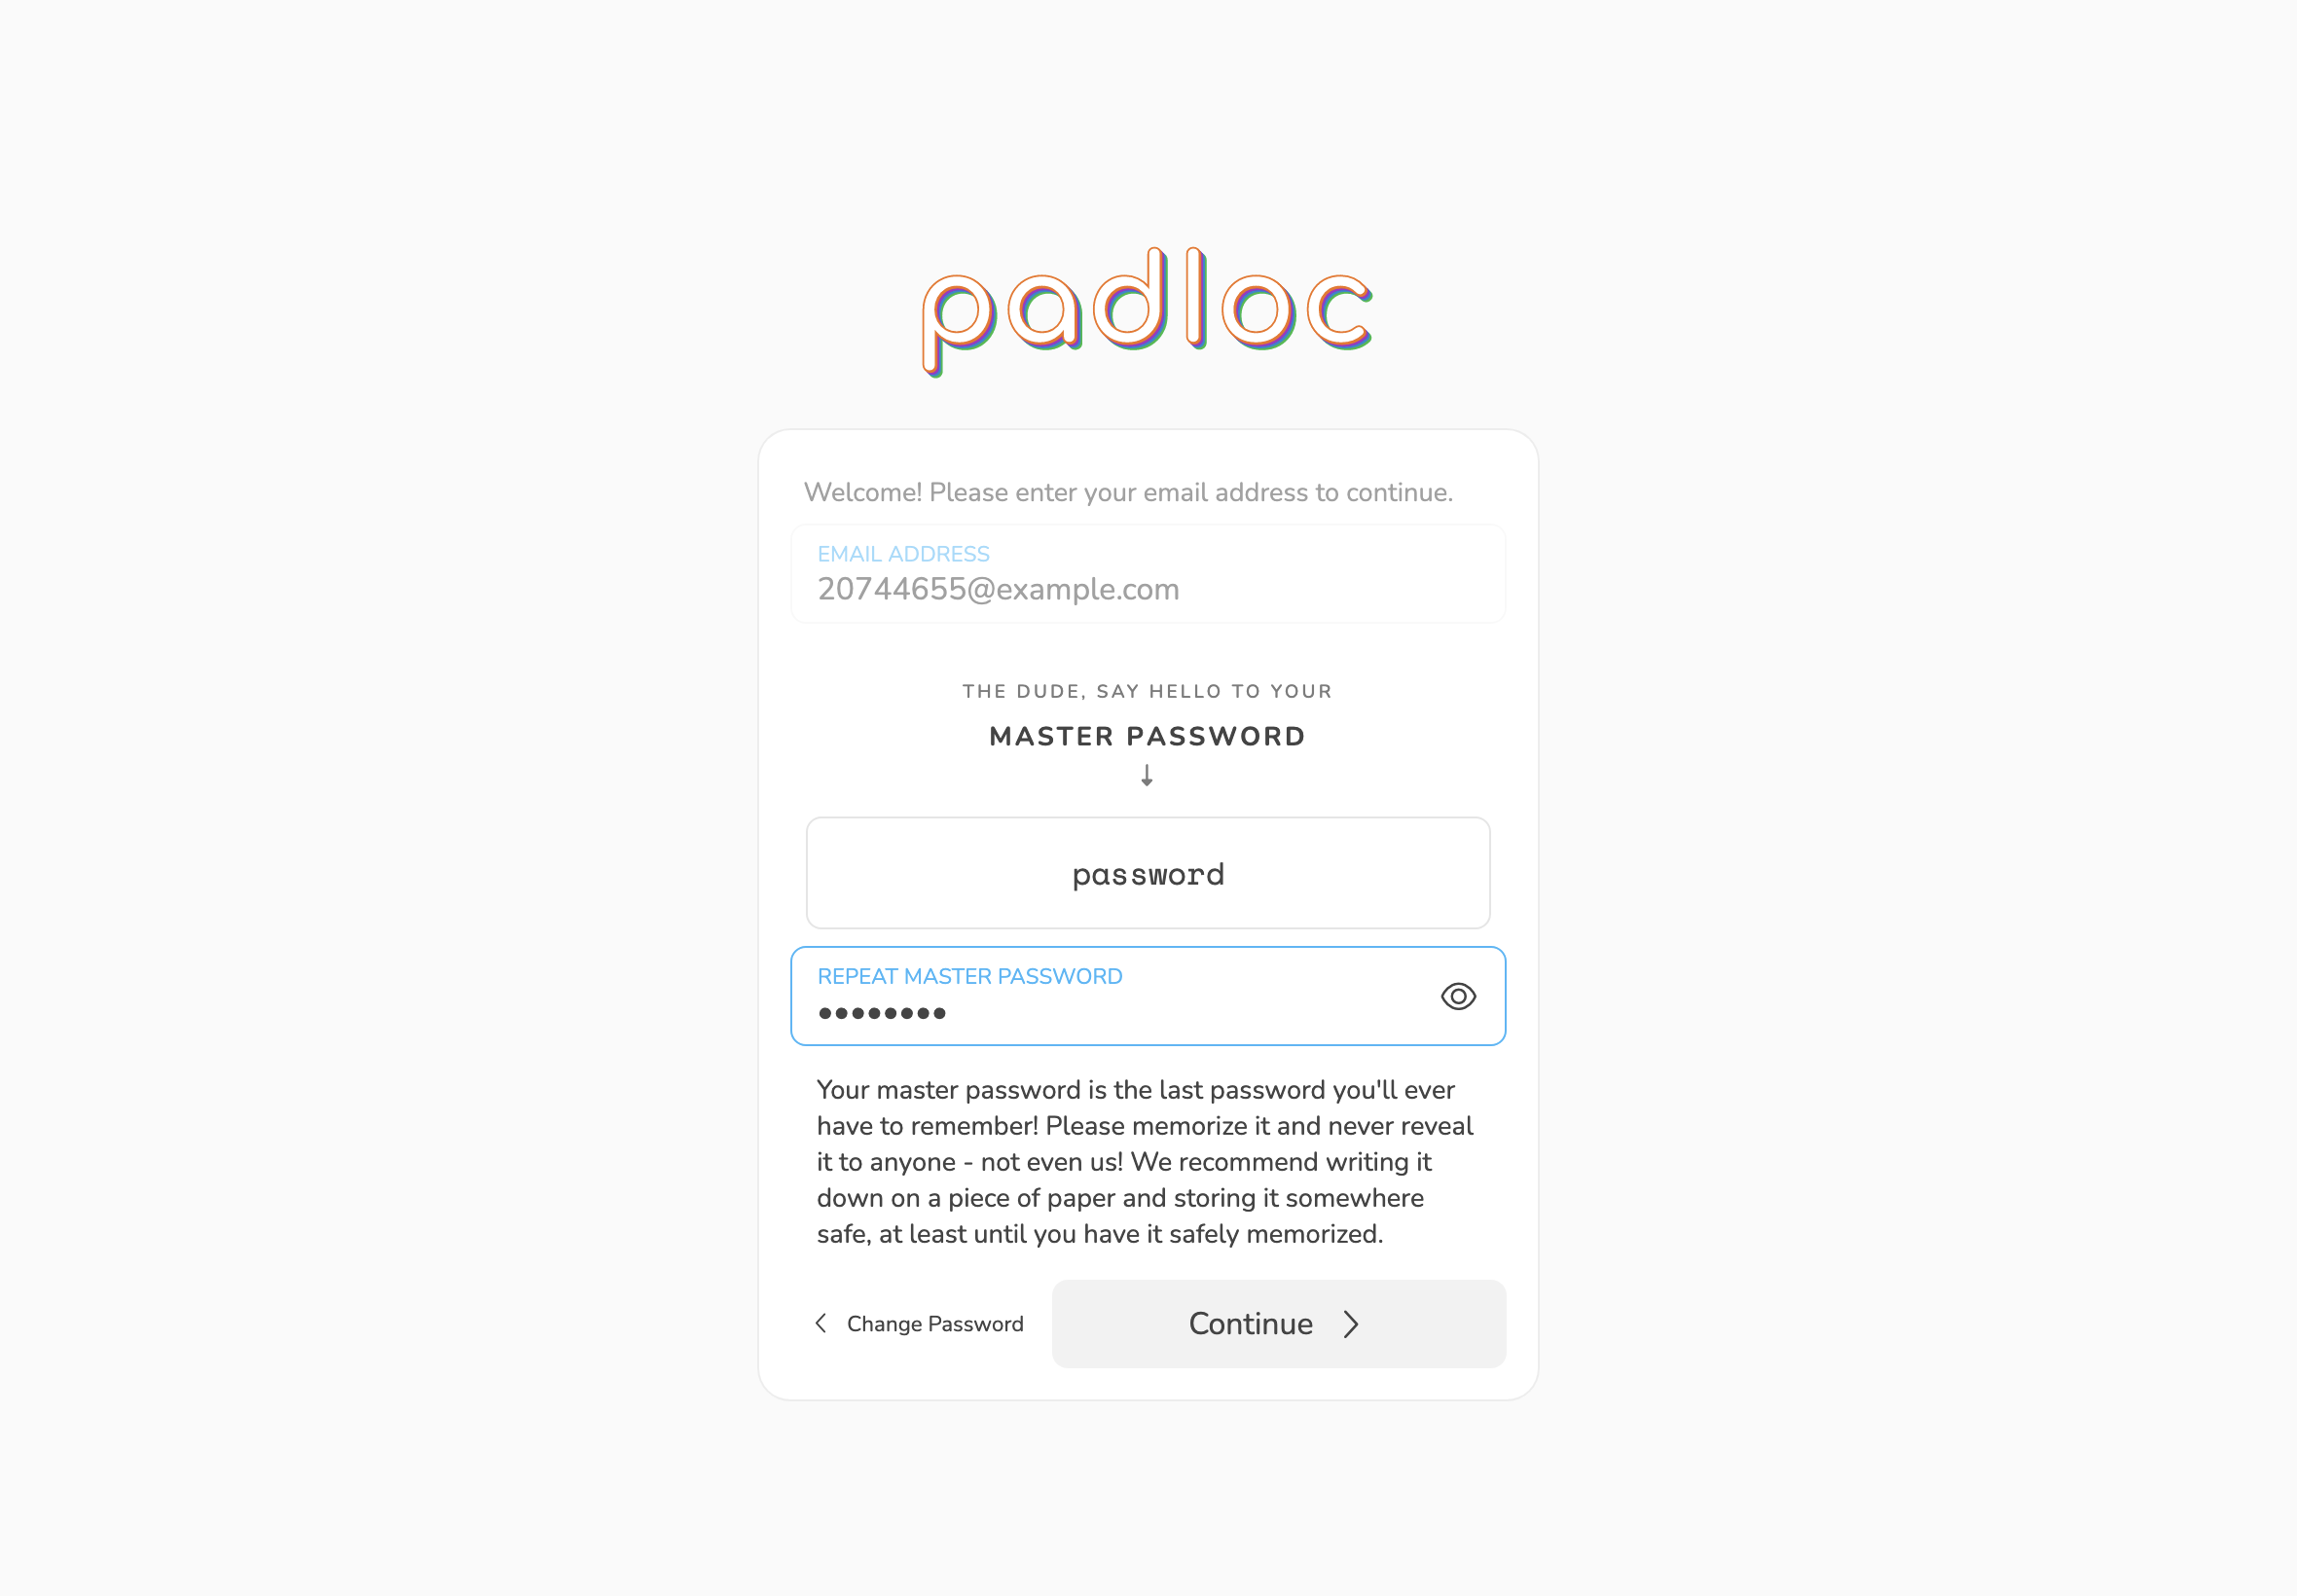
Step 4: Confirm your master password
Once you've chosen your master password, all that is left to do is to confirm it by repeating it in the field below (peeking is allowed), then click .
Important: As mentioned before, we don't keep a copy of your master password anywhere and we won't be able to recover it if you forget it! To be safe, we recommend writing it down on a piece of paper and storing it somewhere save, at least until you've safely memorized it. Don't store your master password digitally in any form and don't tell it to anybody else!
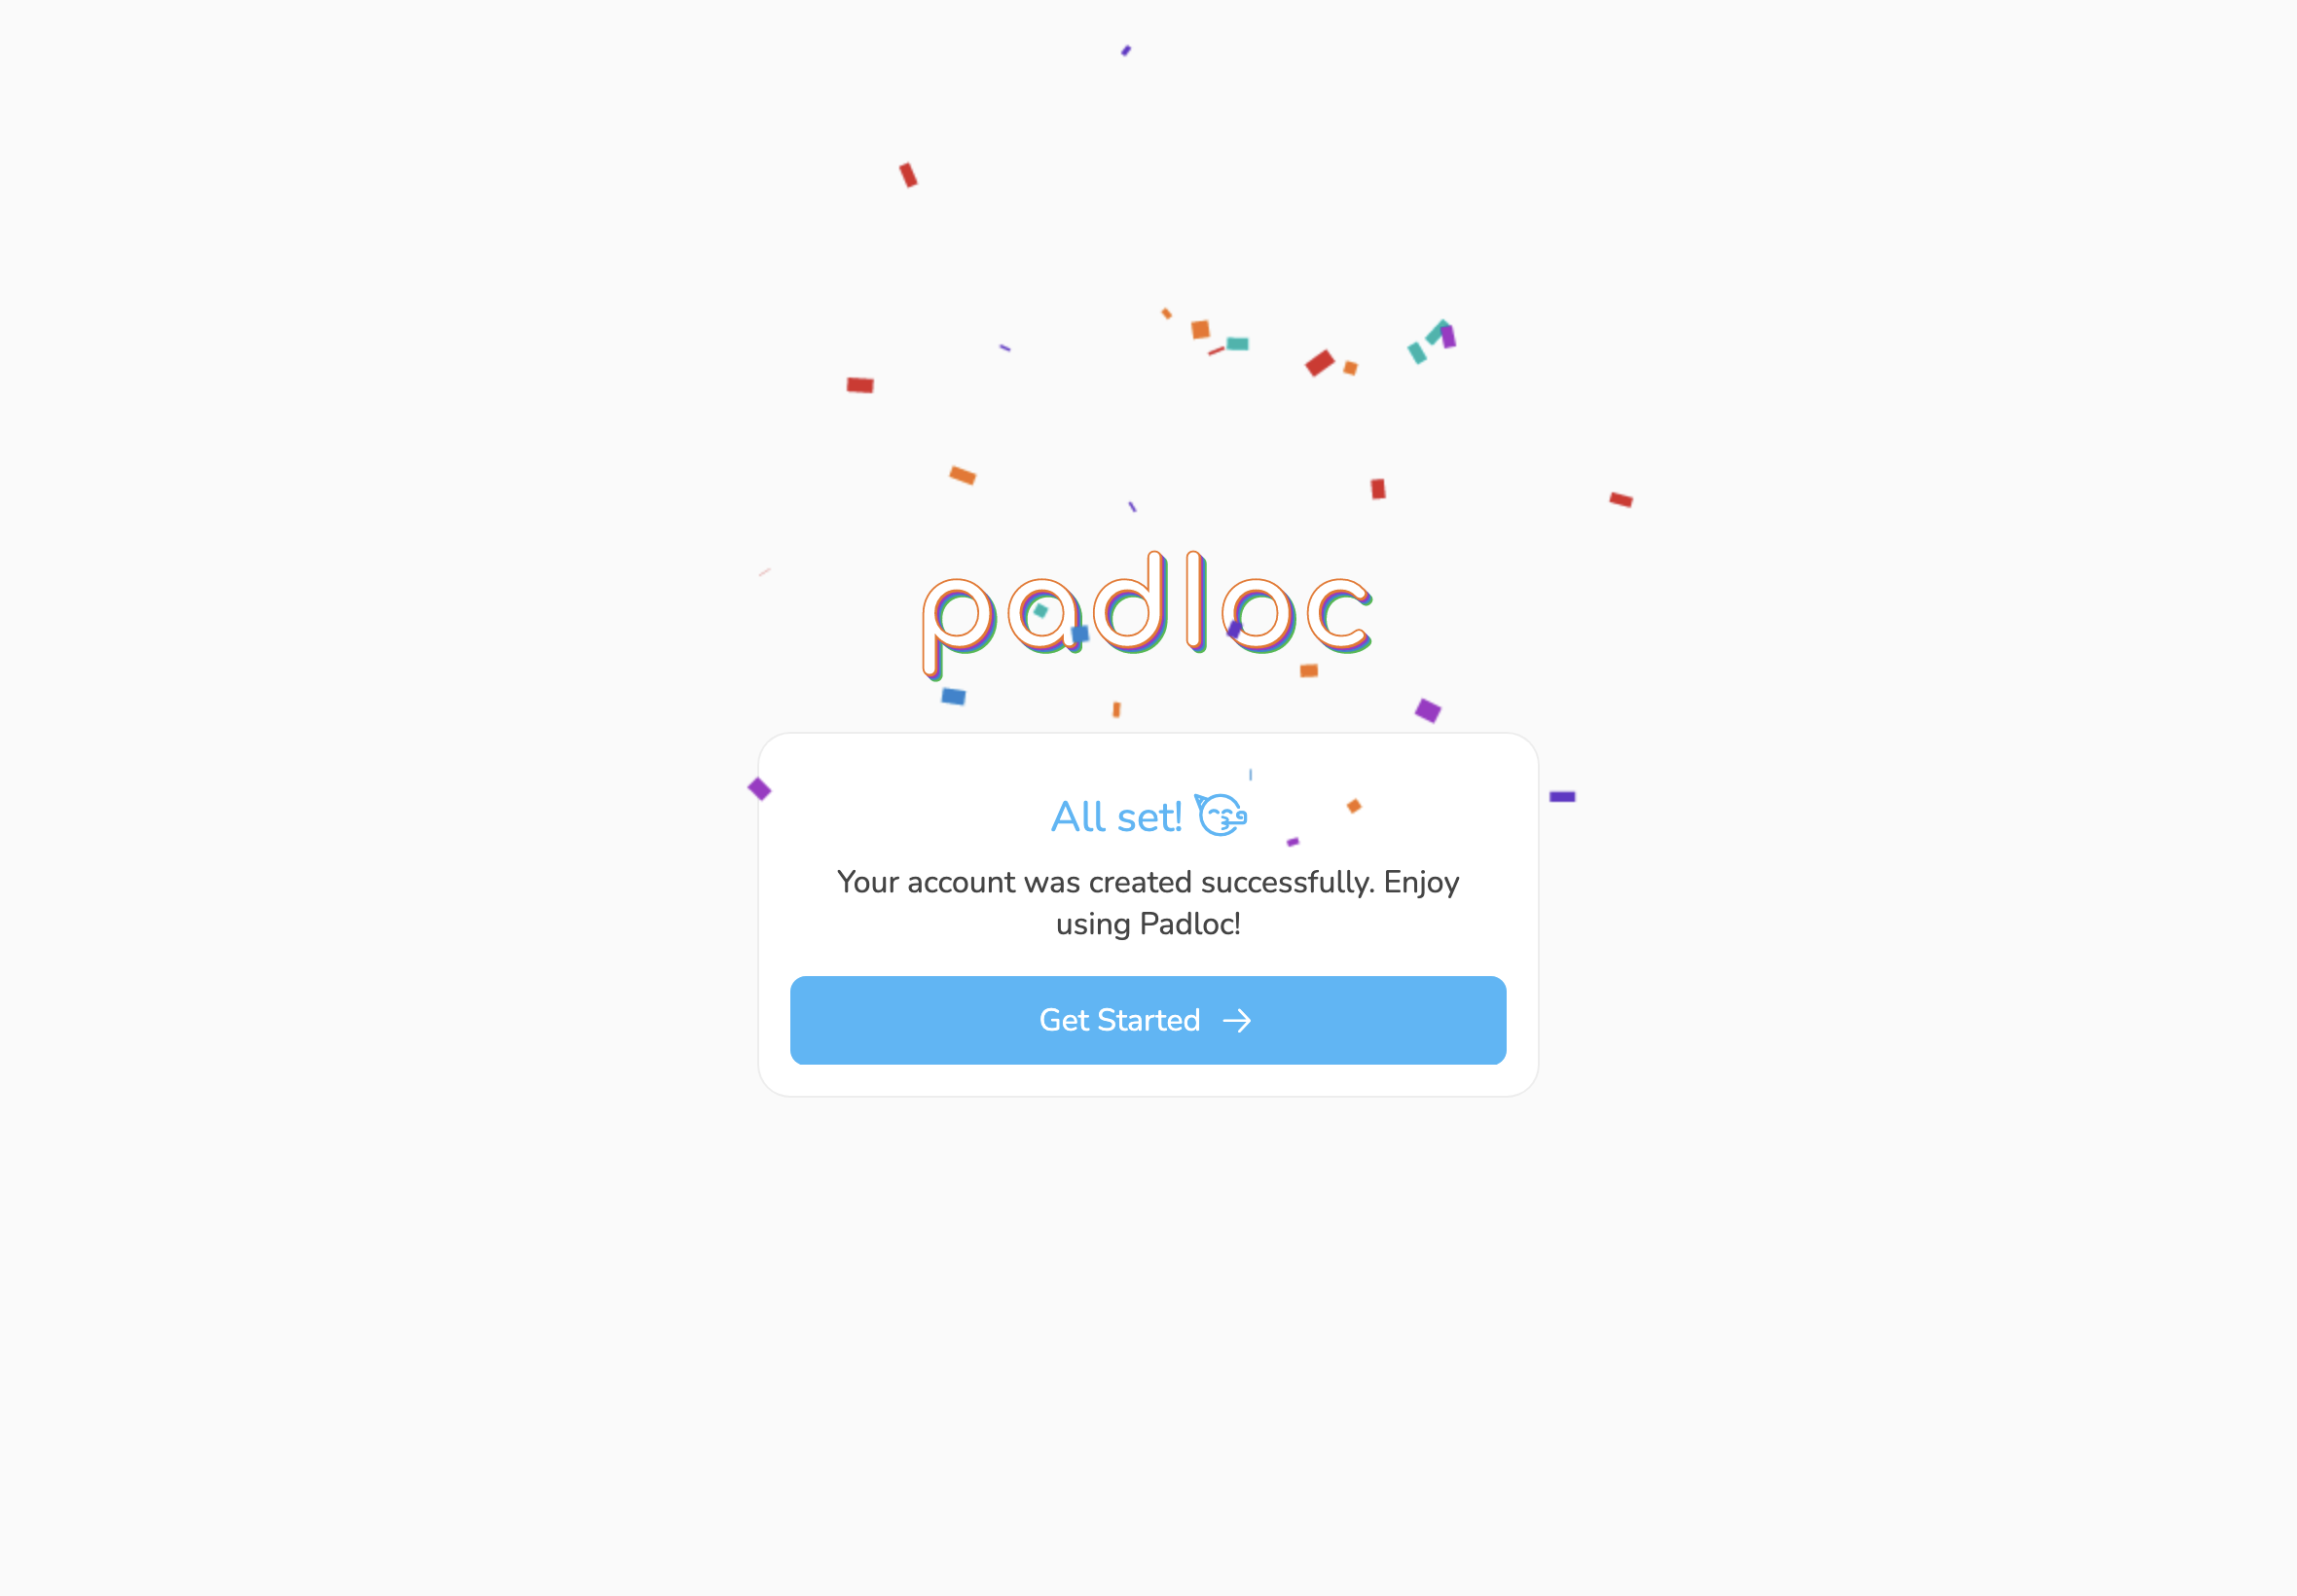
Step 5: Celebrate
Time to break out the confetti! You've just made your first step towards a more secure digital life. Click to dive right in! Now how about we continue by creating your first vault item?